I've faced a legacy BIOS vs UEFI conflict while trying to uninstall ubuntu from a hard drive. So, I was desperately in need of a windows installer USB to fix that. Here's a quick guide about how to create windows bootable USB in Linux easily.
You can use this windows 10 bootable USB for other purpose like installing windows, windows recovery or to uninstall linux from a windows 10 and ubuntu dual boot computer.
Contents
1. Format the USB drive
It's not necessary to format the USB flash drive, but it depends on how you want to use it.
I prefer to format the larger flash drives(16 GB or more) to NTFS file system. As NTFS offers better compatibility across different OS platforms compared to ext4, and better speed than FAT32, also supports files larger than 4 GB.
Note: If you want to boot the USB drive in both pure UEFI mode and legacy BIOS mode, then you must format it to FAT32 filesystem.
As I wanted to create a windows 10 bootable USB with legacy BIOS support, and the size of the flash drive is 16 GB. So, I decided to format it to NTFS with MBR partition table.
You can go with either FAT32 or NTFS, just be sure that noting important left in that USB drive.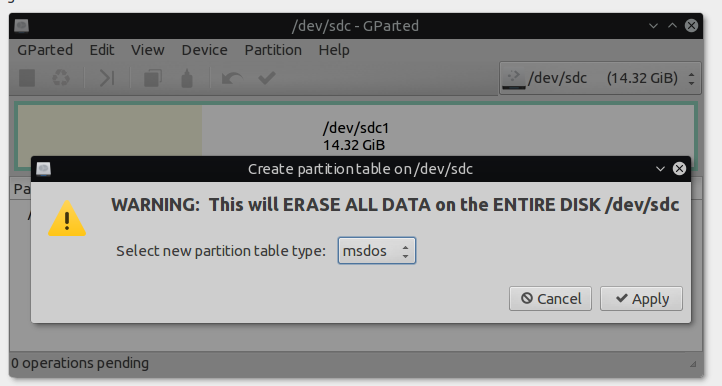
At this point you can use Gparted or the linux command line to format, but here I used the parted command for more speed.
Be very very careful while running the commands below, choosing wrong disk (/dev/sdX) could be disastrous.
sudo parted /dev/sdc mklabel msdos
sudo parted -a optimal /dev/sdc mkpart primary ntfs 0% 100%
sudo parted /dev/sdc toggle 1 boot
The Last command is to toggle the boot flag, to mark the USB is bootable.

2. Install GRUB on the USB drive
Note: Skip this step if you want to create a UEFI only bootable USB, GRUB installation is not necessary for that.
Next you need to install GRUB boot loader, for that you need to mount the USB drive as well. I simply used used the file manager to mount the USB drive.
After mounting the drive you need to create a directory named boot. Again you can use either the file manager or command line.
Note: Don't just copy paste any of these commands below, modify them according to your system.
mkdir -p /media/b00m/AS_backup/boot
Now you've to install GRUB, for that modify and run the command below.
sudo grub-install /dev/sdc --target=i386-pc --boot-directory=/media/b00m/AS_backup/boot/
Now we need to create a grub configuration file under the boot/grub directory.
nano /media/b00m/AS_backup/boot/grub/grub.cfg
Below the GRUB configuration to boot windows 10 in legacy BIOS mode.
menuentry "Windows 10" {
  insmod ntfs
  insmod part_msdos
  insmod search_fs_uuid
  search --no-floppy --fs-uuid 16B9C29949E66C75 --set root
  ntldr /bootmgr
  boot
}
** Don't forget to set the proper UUID on your configuratio, you can get the UUID with the blkid command, example below.
sudo blkid /dev/sdc1
3. Copy the windows installation files
Assuming you already have a Windows ISO file, You need to copy the contents from the ISO to the USB drive.
Again, for that you can use the command line or any graphical file manager.
First mount the windows ISO file to the /mnt directory.
sudo mount ~/OS/Win10_1703_x64.iso /mnt/
Then copy all the files to the USB drive.
cp -r -n /mnt/* /media/b00m/AS_backup/
This should take few minute to complete, mostly depending on the write speed of the flash drive. After that your bootable USB should be good to go.
Testing the windows bootable USB Linux
It's the last part of this tutorial, to check the boot USB is working or not, let's give it a try.
Depending on your PC or laptop, you need to plugin the USB drive first and turn it on, while tapping the F12 , Esc or F10 key frequently at the same time.
After selecting to boot the PC from the proper USB drive, you can see the GRUB boot menu listing Windows 10. You should be able to boot from it, if everything was done properly.
Conclusion
So, it's the end of this tutorial. You can use the same USB drive to transfer data and use it as a multiboot USB drive.
You just need to copy more ISO files and edit the GRUB configuration file properly to boot various linux distro and windows from the very same Pendrive.
Hi Arnab, thanks for your sharing, followed your instructions and made a USB stick without a problem, but when I try to boot into BIOS boot menu, it didn't show USB, double checked with GParted, it showed a USB with boot flag and using file manager, all the files are there. Why BIOS don't see the stick? Formatted with NTFS and BIOS set to UEFI.
Thanks
Thanks. I get to boot to windows 10 install menu, but it doesn't find any disk drivers .. Windows starts whining about missing drivers. Any idea why's that?
Thank you very much bro.... 100000 Likes for you... It worked for me....