Accessing cloud storage services like Google drive or Dropbox from a web browser is not very convenient always.
So, here's a nifty tool for you, CloudMounter.
Truly this this cross platform software is one of it's kind. Certainly the easiest software to mount cloud storage services as local drives on Windows and mac OS.
Now we'll review the CloudMounter on Windows platform.
Contents
What you can do with CloudMounter?
As the name and intro suggests, it's basically a software to easily mount network drives on Windows.
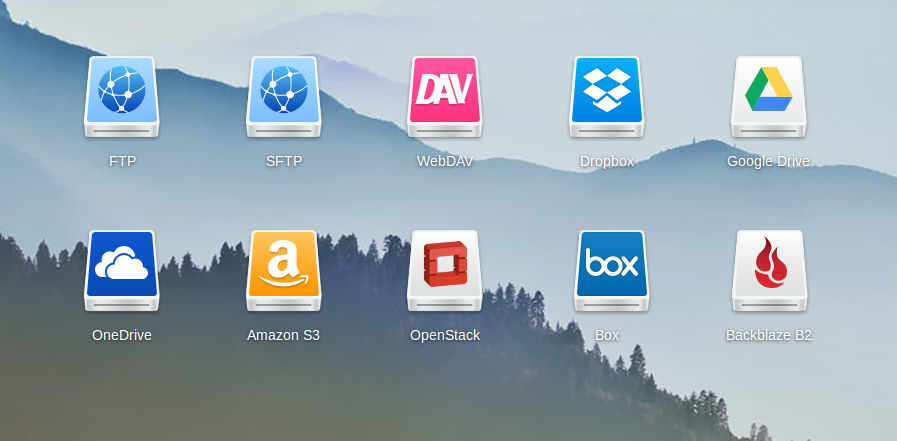
Here's the list of cloud storage services you can mount.
- Google drive
- Dropbox
- Microsoft One drive
- Amazon S3 object storage
- Wasabi S3 object storage
The mac OS version support many more cloud services, including generic FTP/SFTP mounts directly.
An interesting feature is CloudMounter has seamless Windows exlorer support. That means you can use mounted cloud service almost as a regular disk partition.
It also supports contextual menu integration, so you don't have to repeatedly open and close Windows explorer.
Encryption is important for sensitive personal information and personal data.

CloudMNounter offers automated SHA 256 encryption on the go. So, you don't have to encrypt anything manually.
That's plenty of features for most normal users.
Installing CloudMounter
Installing the sofdtware is as easy as inslling any other software on Windows.
Just download CloudMounter from the Official website, then just double click over it. The installation process should start automatically.
And of course you've to agree with the end user licence to install the software.
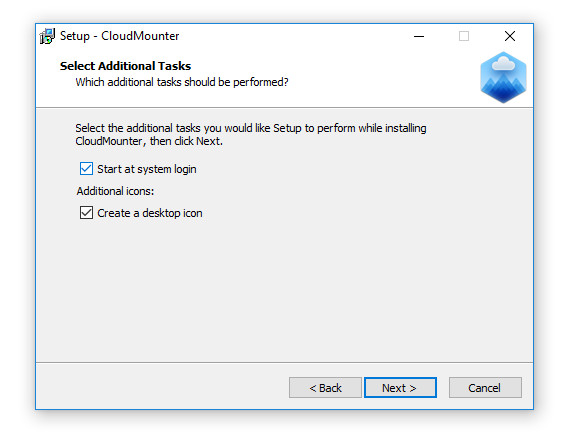
You might want to start the software at Windows startup.
There's a checkbox while installing the software to enable this feature.
How to use CloudMounter
Obviously first you need to start the software to actually use it.
You can find a desktop icon, just double click over it to simple launch the software.
The user interface is damn simple, in fact one of the simplest interface I've ever seen in recent years.
First you've to setup the cloud storage services one by one. Click on the different storage types on the right side of the application interface.
So, you've to allow access to the CloudMounter software to your Dropbox, Google drive or One Drive account. For demonstration purpose, I used Dropbox.
Clicking over the appropriate box will open up the associated application or a browser window to complete the setup.
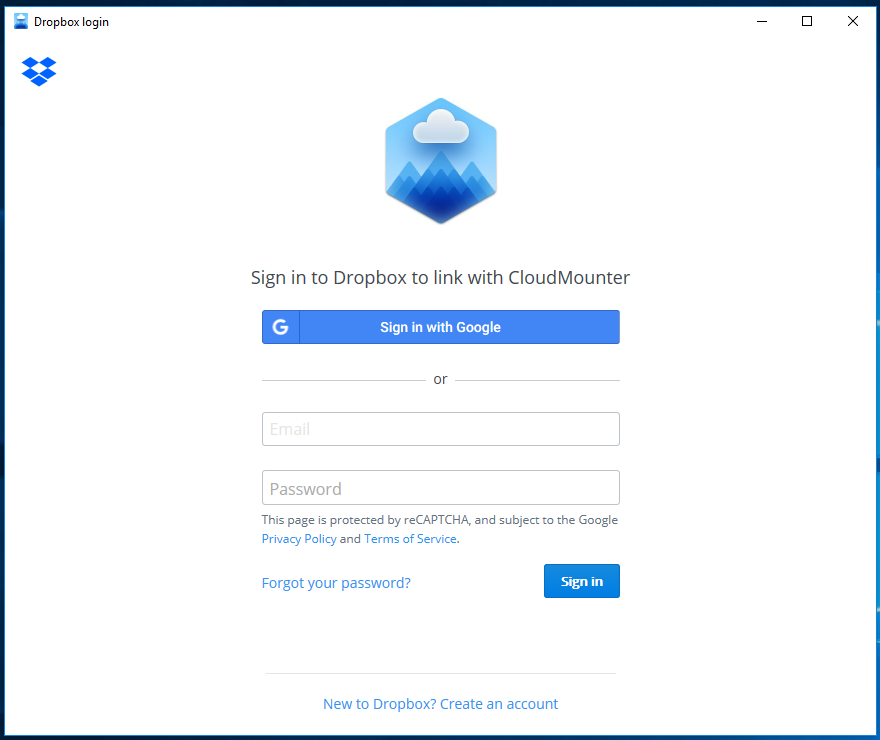
Now you've to provide the correct credentials and sign in. On the next page, click on the Allow button.

That's all the setup you need. Now you can see a new network drive on the Windows Explorer.

On the screenshot below, you can see how easy it's to access Dropbox from Windows explorer.
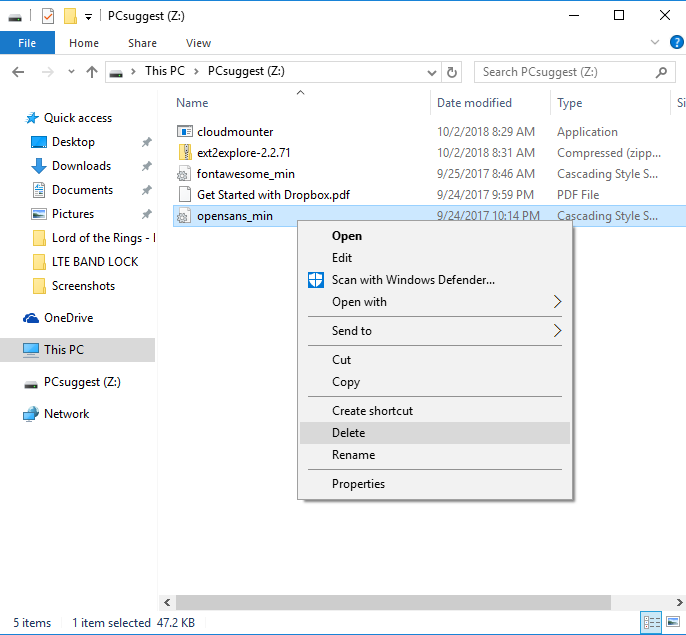
It's not just limited to one particular Dropbox mount, you can several services and account at the same time.
CloudMounter Performance
Performance of file transfer operations are largely dependent on the network speed.
If the network is fast, then obviously the file could be transferred back and forth quickly.
Network latency also plays a huge role on overall responsiveness. Lower the latency, more fluid user experience. As example, it takes nearly 1 second to refresh the folder contents, using a LTE network.
If encryption feature is enabled, it could take a bit longer, as encrypting any larger file takes time.
Conclusion
To be honest, it's one of the best software I've ever used on Windows.
The simple user interface is just awesome, even a newbie could use it within few minute.
But there's a catch, this software is not free, though you could enjoy the free trial for 14 days. However if you're heavy user of cloud related services, then price is justifiable.
Even you don't want to purchase the software, it deserves a try. Know more about it from the official website, CloudMounter.net .
Leave a Reply