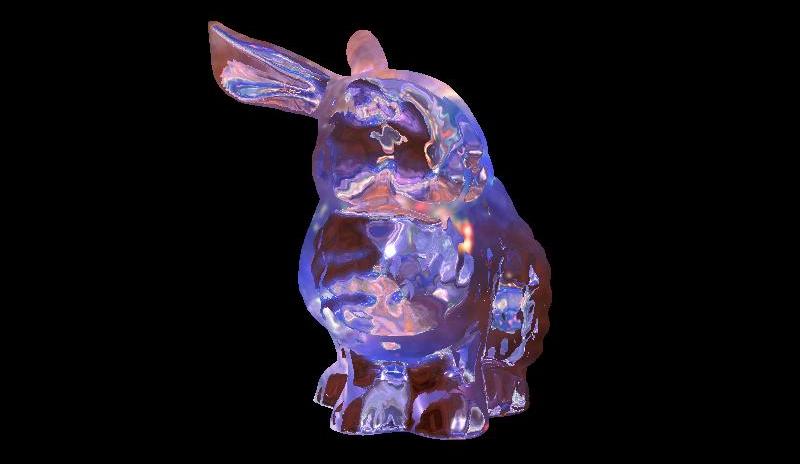
Glmark2 is a popular open source GPU benchmarking tool with OpenGL 2.0 and OpenGLES 2.0 support, available for Linux and Android platform.
It is developed with a goal of easy and effective GPU benchmarking for ARM hardware in embedded systems by the Linaro team.
Glmark2 binary packages are available in official Ubuntu repository, but not available in Debian repository, so we have to compile and install latest glmark2 form its git repository.
Contents
Install required softwares and development headers
To Download and compile latest debian glmark2 binary, we need some basic tools like g++ and git and development libraries.
- Build a basic binary compilation environment
sudo apt-get install git g++ build-essential pkg-config
- Build a X11 and OpenGL development environment
sudo apt-get install libx11-dev libgl1-mesa-dev
- Install jpeg and png image development headers
sudo apt-get install libjpeg-dev libpng-dev # install libpng12-dev on Ubuntu/Mint
Download glmark2 source from git
Now you can download the glmark2 source files either with git or the source zip file from glmark github website https://github.com/glmark2/glmark2 .
cd ~/

git clone https://github.com/glmark2/glmark2.git

cd glmark2/
Configure, compile and install glmark2 in Debian
Glmark2 uses the python based WAF build system, which requires an working python 2.x installation, now we are going to build debian glmark2 with X11 and opneGL support only, no OpenGLES, wayland or mir support.
./waf configure --with-flavors=x11-gl

./waf build -j 4

sudo ./waf install
Stripping the debian glmark2 binary will reduce the overall binary size hence it will make the application launch faster.
sudo strip -s /usr/local/bin/glmark2
Now the compilation and installation is complete , run glmark2 and check the results.
glmark2
 Note: This will bulid the glmark2 binary and all the supporting data and supporting library under the build/src/ directory.
The default build prefix is /usr/local/ and it will be installed there. So the installation process requires root privilege. Checkout the main article about GPU benchmarking with glmark2 here .
Fix libpng error while configuring
This step is optional, depending on your system, but in my case with Debain testing, it was necessary fix this problem.
sudo mv /usr/include/png.h /usr/include/png.h.bac

cd ~/glmark2/src/libpng/

sudo cp png.h /usr/include/

cd ~/glmark2
Conclusion
Actually this installation process is pretty easy, but sometimes returns many error messages due to improper library and header files.
So if there is any error during configuring and compilation process, you have to find out and solve it, if you need any further help just leave a comment and 🙂 dont forget to share it.
Error: Glmark2 needs OpenGL(ES) version >= 2.0 to run (but version string is: '1.4 Mesa 18.3.6')!
Error: main: Could not initialize canvas
🙁
Hi,Could you do me one favor?
I followed your steps, but when i run glmark2, it throwed below error.
root@liugaohuan-PC:~/glmark2# glmark2
Error: main: Could not initialize canvas
This error occurs when you are trying to run glmark2 without graphical interface.
I want to build the glmark2 for Null Windowing System. What command line argument should I give while building the source?
Thanks in advance
Thanks! Works well on Linux Mint 18.3.
now on debian buster you need to install libpng-dev. libpng12-dev don't exist for debian testing.
root@sar-sda6:~# uname -a
Linux sar-sda6 4.14.0-3-amd64 #1 SMP Debian 4.14.13-1 (2018-01-14) x86_64 GNU/Linux
root@sar-sda6:~# apt-get install libjpeg-dev libpng-dev
I should update the package name ASAP.
work's even on a live kali usb stick
with one little change on step 3
sudo apt-get install libjpeg-dev libpng12-dev (change to libpng-dev)
Thanks!!!
Seems like package name has been changed, thanks for the input.
for Raspbian OpenGL-ES2 you need this additional packages
apt-get install libegl1-mesa-dev libgles2-mesa-dev
and add glesv2 to configure
./waf configure --with-flavors=x11-glesv2
binary name is glmark2-es2
happy benching! 🙂
Thanks !
Worked for me in Devuan 1.0 Xfce, thanks. 🙂
thank you for that
Thanks Johannes, I appreciate your feedback.